
One of my absolute favorite blogging tasks is definitely image editing. I love to put the finishing touches to the image, after all, it’s not for nothing that you put so much effort into a perfect scene: You tinker and assemble a small photoset, select lovely decoration for the right mood and work its way centimeter for centimeter to the right angle. But something is missing. Something is just not perfect. The white table is too yellowish, the light is not optimal, the contrast is just so - and how does the stain get there? I did not even see it through the lens before.
Fortunately, there are now plenty of ways to edit images, namely for a mobile phone or “like a boss” for the computer. But what is the best way to get the perfect Instagram photo and a unified feed? As always, the best way to learn is from the pros, because if you take a closer look at the Instagram feed from top influencers, you’ll first see how much work is really behind such a “random photo.” The times that Instagram is a kind of “snapshot” app is already over! And even though Instagram offers many filters and editing options, you should still think about professional editing.
Contents
- Light – The heart for your perfect photo
- Why you should forget about Instagram filters
- Image editing like a pro
- Checklist – 8 tips for the perfect photo
- Summary
1. Light – The heart for your perfect photo
But before we start with the different possibilities of image editing, we make a short stop at your original image, because the most important thing before the whole editing ceremony is the light. There are many ways to lighten a picture later, but as soon as the subject rushes because it was too dark, you get this area even though brighter, but in no case sharp. The light controls not only the sharpness of your image but also the whole mood, which is transported through the photo. For example, did you know that most fashion bloggers shoot their photos early in the morning or the evening? The light is so perfect at this time that it even has its name in photography: Golden Hour. And this is not to be confused with the happy hour in the cocktail bar next door, no, the Golden Hour refers to the period shortly after sunrise or just before sunset. Here, the light is much softer, flatters the complexion and leaves a beautiful “Golden Hour Glow.”
2. Why you should forget about Instagram filters
No question: The finished filters from Instagram are definitely handy - you click on them, and it is like one picture resembles the other. At least in color. Do you want to get the most out of your photo? Well, then I have to disappoint you at this point because to post a photo with the “wow factor,” it needs more than just a filter to clap over it. You know what you want to say with the picture. You know the key message. You know where the focus should be. The programming behind the filter doesn’t know it and treats every photo the same. And so one corner is sometimes too dark, the other too bright and the most critical thing in the picture suddenly does not stand out anymore, as it was in the original photo. Do I have to retake a photo? No, what you need is a professional image editing tool!
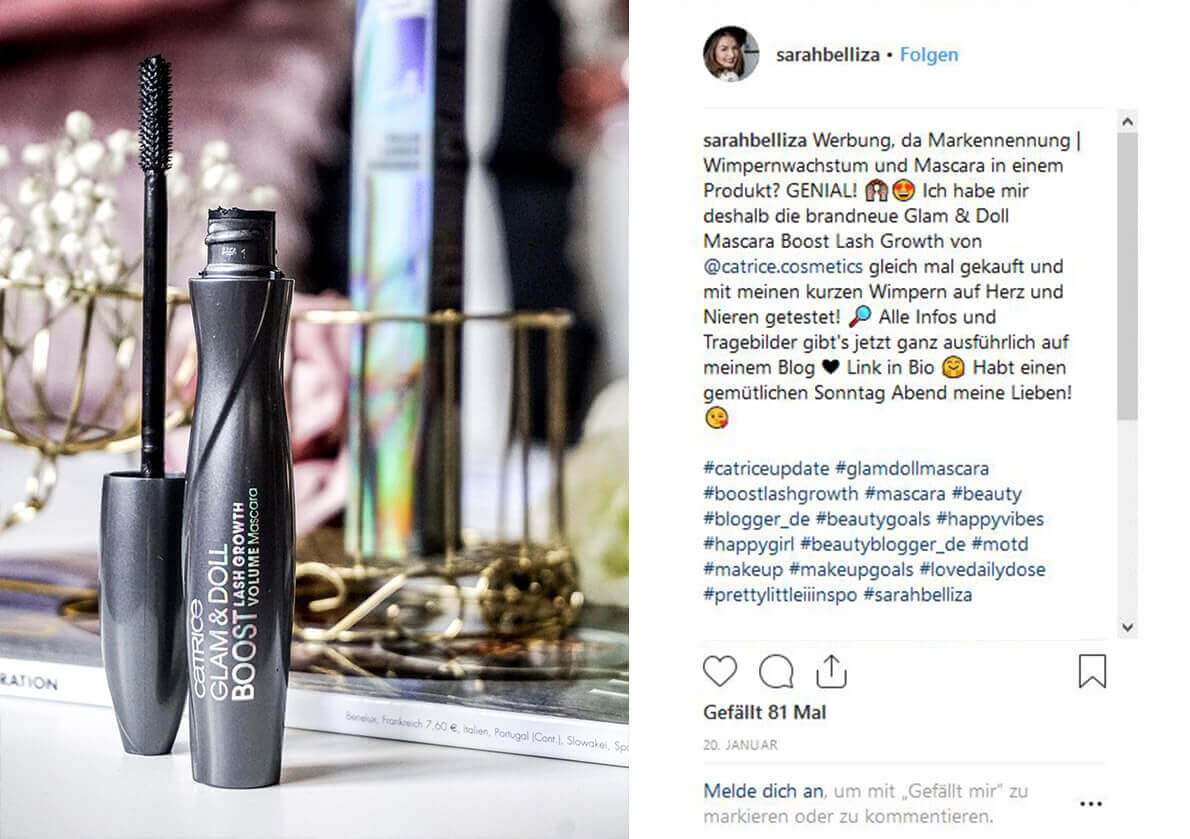 Image: Golden cut
3. Image editing like a pro
3.1 Apps – the fast and inexpensive way to prettier photos
One way to brighten up pictures quickly, cost-effectively, and without any real Photoshop know-how with a more professional look, are photo editing apps. I think Facetune should be familiar to everyone, but VSCO and Snapseed are also popular apps that make their features stand out. I particularly like about Facetune that it goes beyond the typical standard settings such as brightness, sharpness, contrast, etc., and with just a few wipers you can wipe away a stain or sharpen/soften and brighten certain areas. By comparison, VSCO triumphs with enchanting filters that can be downloaded inexpensively or for free. And even Snapseed is quite extensive and can also readjust the perspective, which can be a huge help especially for city shots. But I have not yet discovered “an” all-in-one app that can do everything - but Lightroom!
3.2 Lightroom – A premium-tool, for premium looks!
Depending on how much you are working on the editing of your images and thus also on the feed of your Instagram account, a professional software beyond the standard apps is worth it. Although “Photoshop” is probably more common than its sister program Lightroom, Photoshop is actually for mending or retouching. Of course, you can find all the same color settings as in Lightroom, but it is far from self-explanatory without background knowledge.
I swear by Lightroom in my image editing - it’s not just fun to try out the controls, it’s also straightforward and intuitive to use it. You have almost endless possibilities to give a picture a right look and feel and can even save its settings and apply it to other photos - the most personalized filter an image editing program has to offer. But Lightroom has so many other advantages - for example, it does not compress photos when you save it, which affects the quality of the photo like most apps do. Besides, you can edit images with Lightroom not only on the computer but also “on the go” with your smartphone - and changes are applied to all devices, which I think is pretty awesome. Therefore Lightroom is for me the number one in terms of image editing and for me indispensable.
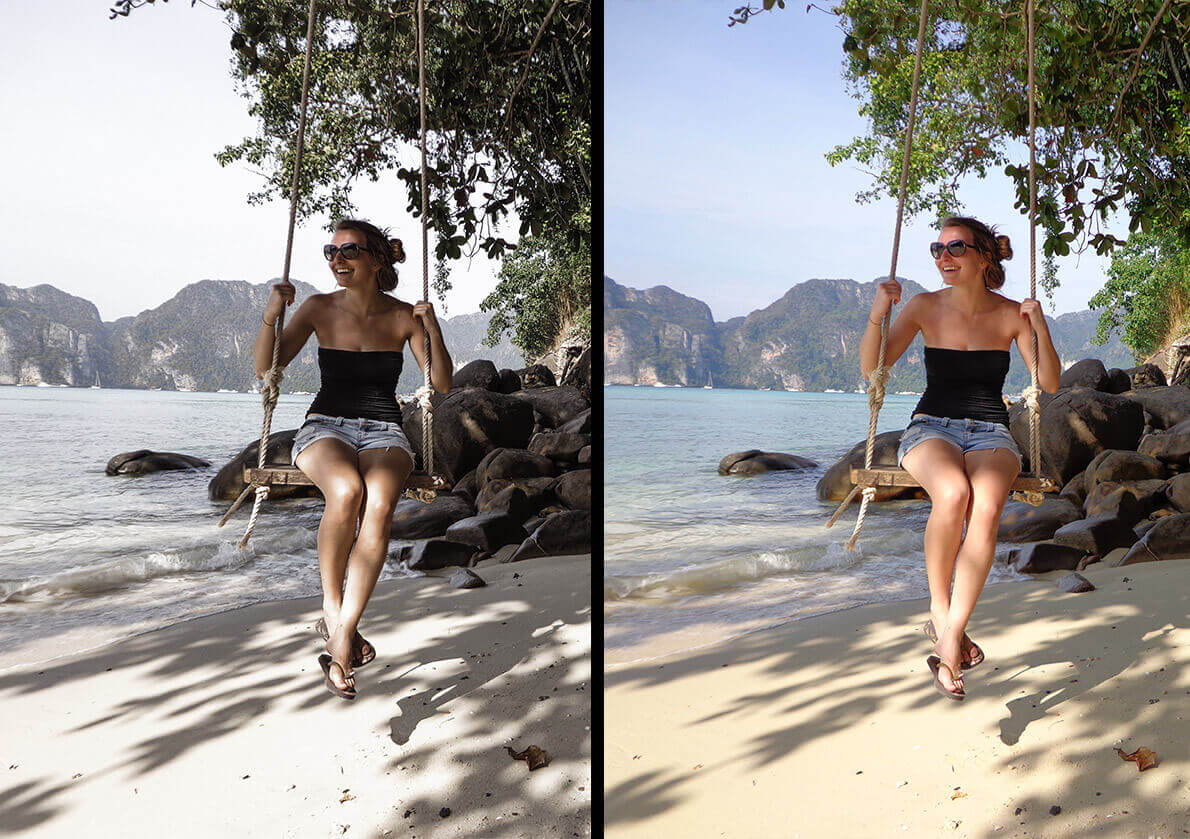 Image: Lightroom before - after
4. Checklist – 8 tips for the perfect photo
-
Choose the appropriate time of day for your photo: Do you want to shoot outside? Then better skip the high midday sun during the summer, instead use the golden hour
-
Think carefully about what you want to tell with the picture: Focus on the main message and soften the background
-
Everything in focus? Check within a test shoot, if your camera is focused, nothing is more annoying than a perfect but sometimes blurred snapshot!
-
Choose the right image detail: Setting everything central is perfect for you? Better fit the image section to the golden part, which looks much more harmonious and makes the picture more interesting
-
Contrast - Give me more! Not satisfied with the colours? Increase the contrast to make the picture more vivid. My tip: Adjust the contrast before selecting the filter
-
Filter Mania: Put a maximum of 3 different filters on your Instagram feed - for a professional and consistent look on your Instagram account
-
Quality: When saving, it’s best to use a software that does not compress your edited photo, but can store it in high quality
-
Put on professional software: Think about getting a professional software and benefiting from all the advantages over apps. My tip: Lightroom!
5. Summary
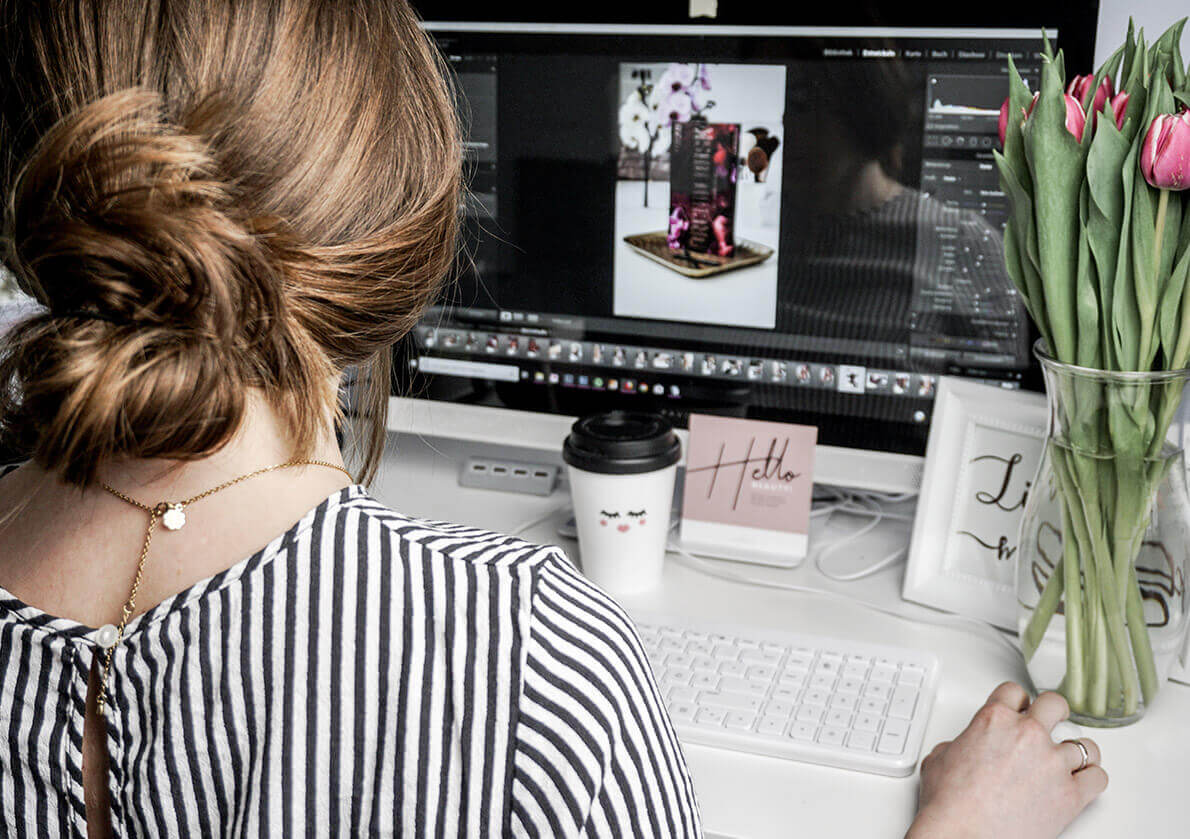 Image: Lightroom
A professional look of your photos does not just look nicer. It also has a positive effect on your Instagram feed: Interested people stick much more often to an account which is painstakingly crafted with a specific concept - and precisely this people might leave one or the other subscription. In this sense, happy lightrooming!
Good to know - Adobe has published a free tool to convert images to PNGs. Try it here!

About the author: Sarah inspires her followers weekly with the latest must-haves from the cosmetics industry. As a graphic designer, she pays particular attention to professional photography and image editing on her beauty blog sarahbelliza.de. Her beauty feed can also inspire you on her Instagram Channel.